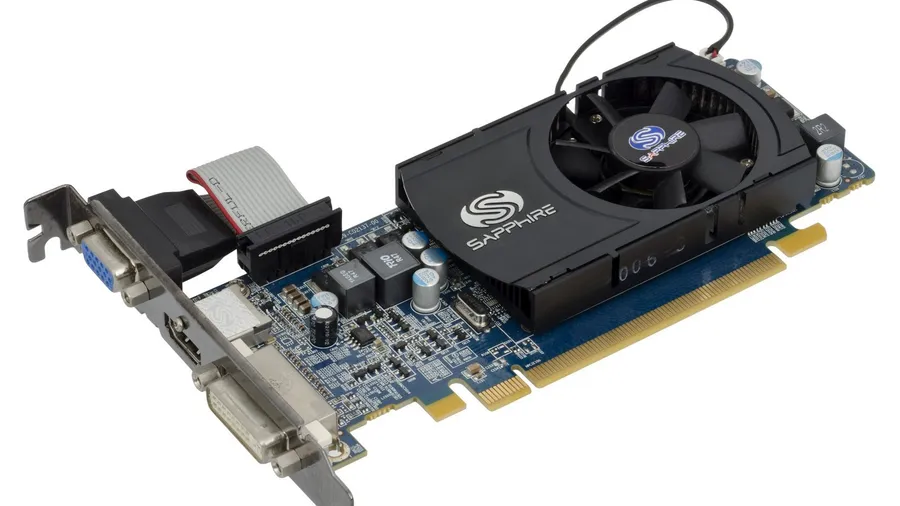
Your graphics driver is the software layer between your games and your GPU. New releases regularly add fixes and optimizations for recently launched games, so an out-of-date driver can mean crashes, graphical glitches or lower FPS than you should be getting.
Step 1: Find out which GPU you have
If you’re not sure, press Ctrl + Shift + Esc to open Task Manager, go to the Performance tab and click GPU. The model name is in the top-right corner. Some PCs show two GPUs: an integrated one in the processor and a dedicated card. Games should run on the dedicated card, so that’s the driver that matters.
Step 2: Download the driver from the manufacturer
Always get the driver from the GPU maker’s own site or app, never from a third-party “driver updater” tool.
- NVIDIA: use the NVIDIA app (which replaced GeForce Experience) or the manual driver search on nvidia.com. Pick the Game Ready driver for gaming. Studio drivers target creative apps and update less often.
- AMD: use AMD Software: Adrenalin Edition, or the auto-detect tool on amd.com. AMD labels releases as recommended (more tested) or optional (newer, with the latest game support).
- Intel Arc and integrated graphics: download the latest driver from Intel’s support site. Intel’s graphics software can check for updates after that.
Laptops: most modern gaming laptops take standard drivers from NVIDIA or AMD directly. If a driver refuses to install, use the one from your laptop maker’s support page instead.
Step 3: Install it
Run the installer and accept the defaults. Your screen will flicker or go black for a few seconds while the display driver restarts. That’s normal. Restart the PC when it finishes, even if the installer doesn’t ask.
When to do a clean install
Installing over the old driver works fine almost all of the time. A clean install is worth trying if you have:
- Crashes, black screens or artifacts that started after a driver update
- Settings in the GPU control panel that won’t stick
- A new GPU from a different brand (for example, AMD to NVIDIA)
Start with the built-in option: NVIDIA’s installer offers a clean installation checkbox, and AMD’s installer has a factory reset option. If that doesn’t help, use Display Driver Uninstaller (DDU):
- Download the new driver first, then disconnect from the internet so Windows can’t install a generic driver in the meantime.
- Boot into Safe Mode and run DDU with the option to clean and restart.
- Back in Windows, install the driver you downloaded, then reconnect.
How to roll back a bad driver
If a new driver makes a game worse:
- Right-click the Start button and open Device Manager.
- Expand Display adapters, right-click your GPU and choose Properties.
- On the Driver tab, click Roll Back Driver.
If that button is greyed out, download the previous version from the manufacturer’s driver archive and install it with a clean install.
Stop Windows from replacing your driver
Now and then, Windows Update swaps in an older graphics driver. If you notice your driver version going backwards after an update, reinstall the correct one. Advanced users can turn off automatic driver downloads in Windows’ device installation settings, but most people never need to.
After updating
Check that your monitor’s refresh rate is still set correctly under Settings → System → Display → Advanced display, since a driver reset can sometimes drop it back to 60Hz. Then launch a game you know well and compare how it runs.
Check Your PC Specs Graphics Settings to Check